
If you can stick axes and knives in a target round at one rotation while maintaining your plane of impact, read on.
If you have no idea what the above statement means, go back to the home page and start reading from the Current rules on down. Advanced throwing is going to take what you've learned in Basic throwing and add a little "English."
Multiple rotations:
Once you can consistently stick a tomahawk (or whatever weapon you started with) at one rotation, the next thing you'll do is throw with two rotations. Still using a standard tomahawk, 18 to 20 feet is the correct distance for two rotation. The only difference is the amount of strength needed since you're throwing the ax further. The same thing applies for three rotations, the maximum you're likely to throw at a range (25 to 28 feet.) Multiple rotations are possible with any weapon that normally rotates when thrown. What must be remembered is that one rotation at twelve feet doesn't mean two rotations is twenty four feet. A good starting point is to add 50% of your one rotation distance for every additional rotation (i.e.: one rotation at 12 feet, two rotations at 18, three rotations at 24.) If you don't normally step while throwing you may find a step helps add inertia for longer distances.
Note 1 1/2 rotations can be done also.
Step 1:
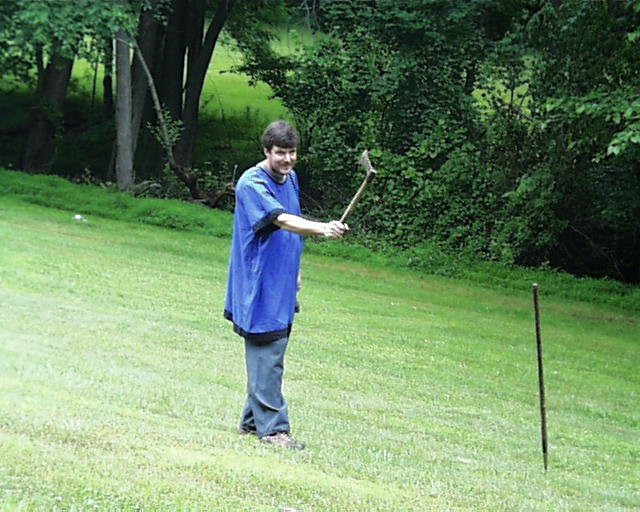
Figure distance (yes, between 1 and 2 rotations) and hold the ax the same way with one exception: the blade faces the thrower. When stuck the handle should be pointing straight up.
Two-handed axes:
The No-throw method can be used for two-handed throws the same as one-handed.
Step 1:
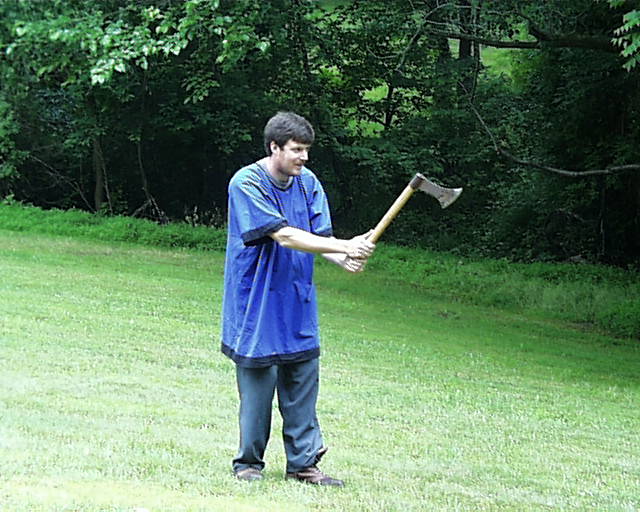
Use both hands to hold the ax at the end of the handle with the same grip you would use on a baseball bat. For this you will want your body centered on the target with the ax directly in front of you.
Step 2:
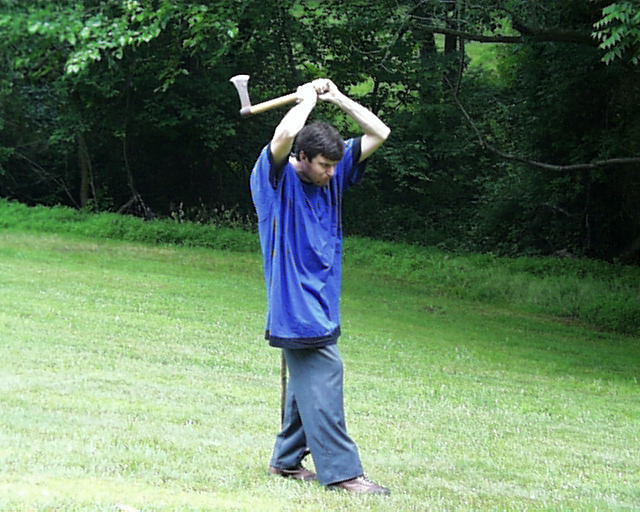
Bring the ax back straight so the ax head ends up lower than your hands (beware of double-bit or spiked axes that you don't bring it back and stab yourself in the back!)
Step 3:
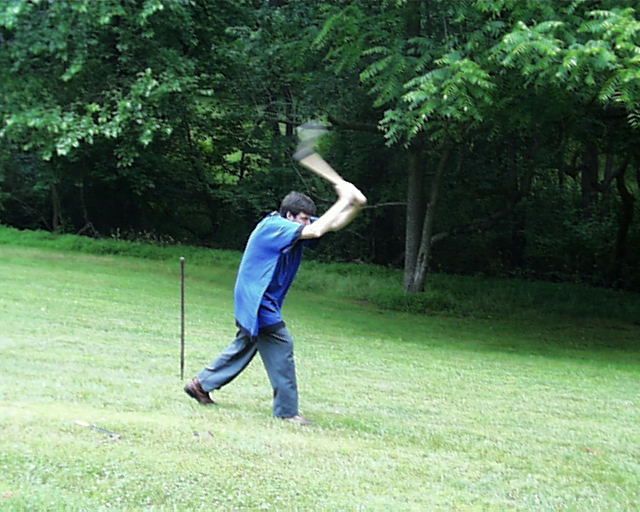
Release the ax with both hands simultaneously. Most two-handed axes have one rotation at 20 feet.
Underhand ax throwing:
This is a great technique for people with injuries that restrict throwing over the shoulder (since most people don't throw underhand, it's also a cool way to show off.) There are two ways to hold the ax for this throw. Both methods have the edge facing the target, but when the ax sticks in the target the handle will point up (12 o'clock) like a 1 1/2 rotation. Note that both of these throws have the edge of the ax moving right past your leg. Pay very close attention when underhand throwing. Also loose clothing (especially pants) are to be avoided.
Wrist locked straight:
Step 1:
With the first method hold the ax so the blade points toward you and not the target. Now lock your wrist and elbow all the way out so the handle is like an extension of your arm. Keep your arm straight and bring it down to your side.
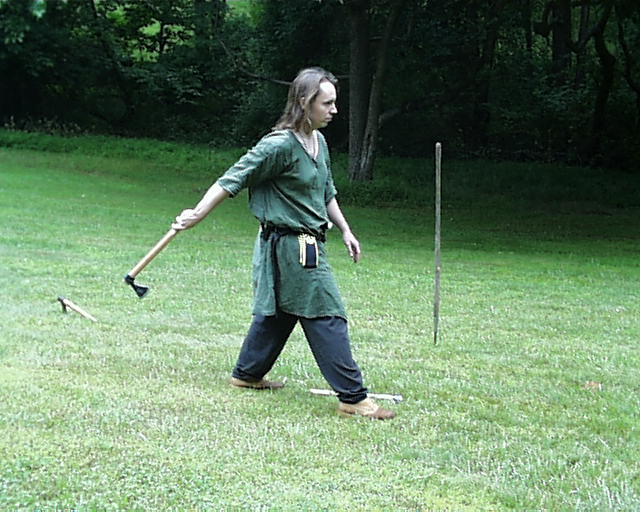
Step 2:
Throw the ax with your arm straight, and release by just opening your hand (no wrist snapping.) Release the ax when your hand is out in front of you and the same height above the ground as your belt buckle (yeah, I know: my back isn't perfectly straight.)
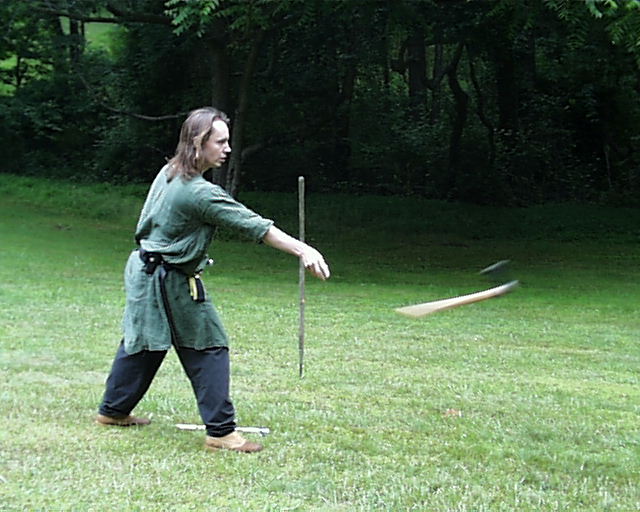
When the axes stick the handles will be pointing up.
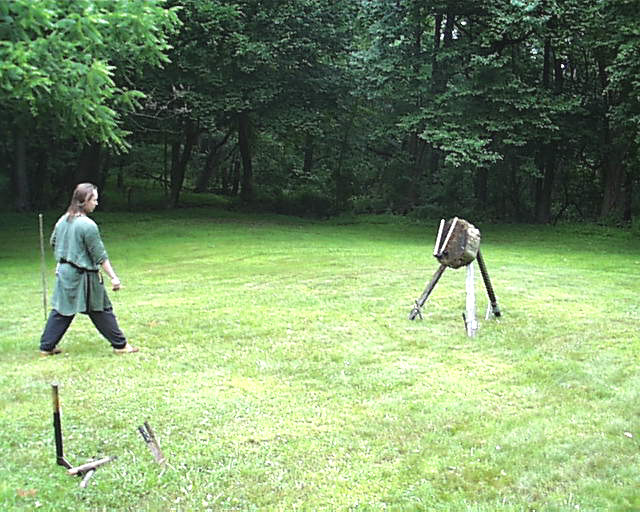
Elbow bent:
Step 1:
With the second method hold the ax so the end of the handle is near your thumb (upside down from a regular throw.) The ax head will be on the same side of your hand as your pinkie finger. The elbow needs to stay bent for the entire throw, with the forearm parallel to the ground at release.
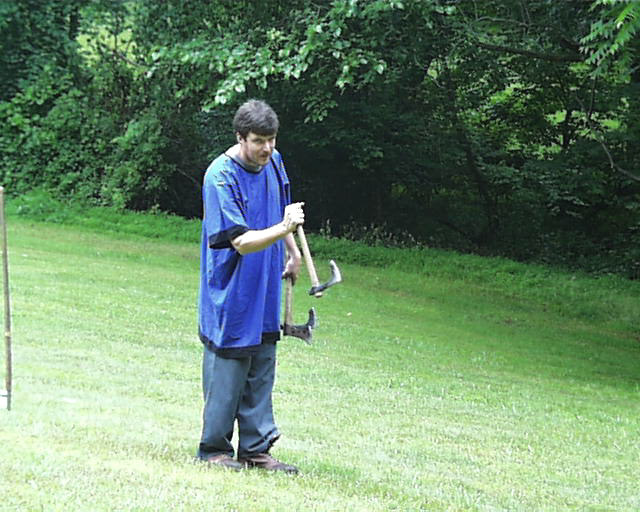
Step 2:
Keep your arm straight when winding up but the elbow needs to stay bent for the rest of the throw, with the forearm parallel to the ground at release.
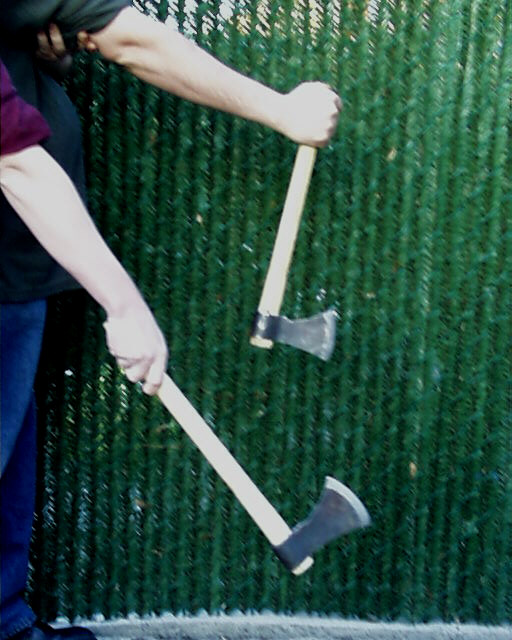
This picture shows the two grips together. The elbow bent is on top, wrist locked straight is below.
Sidearm throwing:
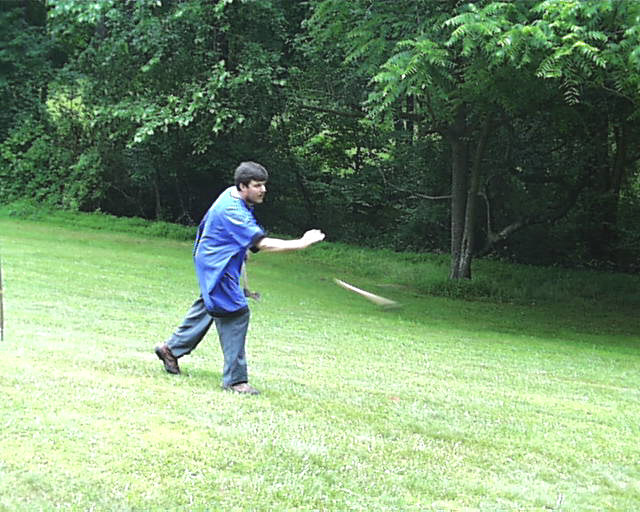
Sidearm throwing in my opinion is any throw where the swing of the arm and weapon is anything other than a straight up and down motion that can be noticed while a marshal observes the thrower. If the weapon slips from the throwers hand half way through the arc it could fly into the thrower standing at the next target. This is why marshals clear the range, etc. before allowing sidearm throwing (ergo: get the marshal's permission before attempting to throw sidearm.) One rotation for sidearm throwing (still using the tomahawk) is about 14 feet. The real difference in technique from a basic throw is the rotation of the shoulder. In a normal overhand throw your arm is moving straight down, using gravity as a guide. In a sidearm throw the plane of impact is now parallel to the ground. The way your arm has to rotate requires twice the practice to get consistent. Because your arm is twisting around more keeping your wrist straight (the ax handle still wants to be 90 degrees to your forearm) is more difficult as well as consistent release. You'll find your experience from basic throwing is going to be your best guide to successful sidearm throwing.
Step 1:
Keep your wrist straight and the ax handle parallel to the ground. Notice how your arm is twisted around a lot more than an overhand throw. Also notice what would happen if the ax were to slip while the picture was being taken.
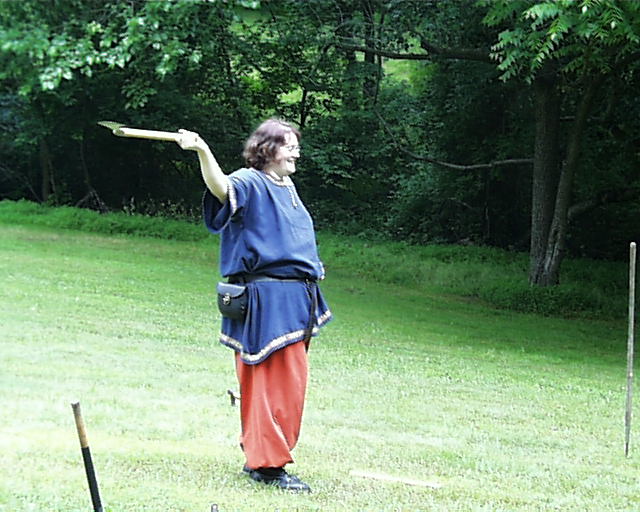
Step 2:
Release the ax when the handle is parallel to the face of the target.
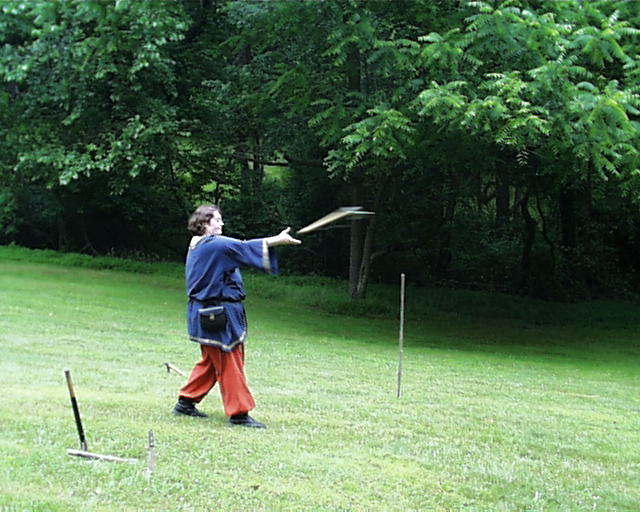
Here's how the ax will stick with a sidearm throw:
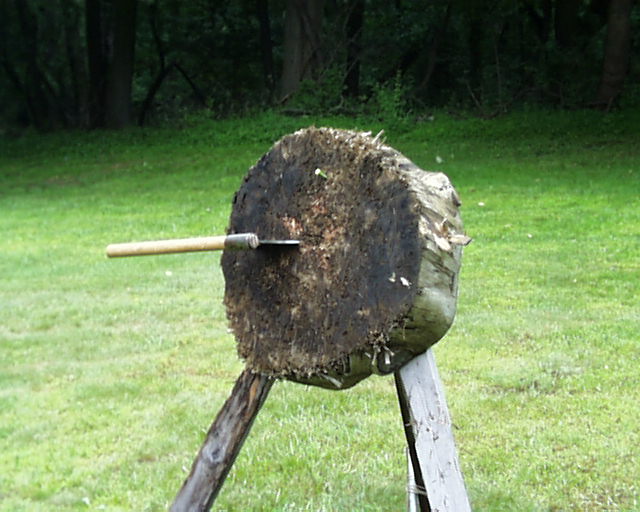
Here's how the axes will stick with left and right hand throws:
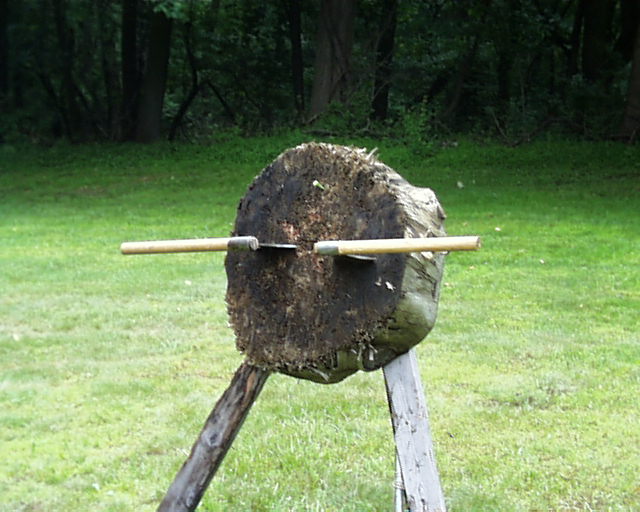
Knife throwing by the blade:
Note there is added risk with throwing a knife by the blade as your fingers are near a cutting edge that will be in motion. Single edged knives should be used since the blade can be held without a cutting edge against your hand. Regardless of the style of knife, do not use a sharp knife to throw this way.
The easiest way to throw by the blade (on the thrower but not on the knife) is to hold the blade tip between thumb and first finger so the flat of the blade is parallel to the ground, the edge facing away from your palm. The blade tip should not be past the base of your thumb. Be certain your index finger doesn't curl around the sharp edge with this grip. Hold the wrist out straight, and use the same technique for knife throwing shown in Basic Throwing (there should be a straight line through the entire length of the knife to your elbow.) The knife will flip and stick with the flat still parallel to the ground. This is easiest to start with but will bend or break the tips of knives quickly. Any weapon thrown tries to continue rotating even after being stuck in the target (inertia, for you physics majors.) With other throws the edge is inline with the rotation, so inertia pushes the edge of the knife into the wood (like cutting a slice of cake.) With this particular grip, the flat of the blade is inline with the rotation. When the tip sticks into the target its the same as if you were using the knife like a crowbar to pry 2 boards apart.
An easier way (on the knife this time) is to hold the knife so the blade tip is well past the base of your thumb, and hold the knife so the edge is toward the ground upon release. The edge will be inline with the rotation of the knife so damage is minimal. A side effect of this grip is that depending on how far the blade tip goes past the base of your thumb, you can easily vary the distance of one rotation. For the beginner this is disaster, but to a more experienced thrower it opens new doors. Often at competitions the given distances are varied (especially when the competition is designed by sadists.) Adjusting your grip along the blade to vary rotation distance is your key to sticking the knife. This requires a degree of familiarity with yourself and the knife not often seen in SCA competition. If this not only sounds like a challenge but a cheap attempt to raise the standards here in the East, I'm glad you were paying attention.
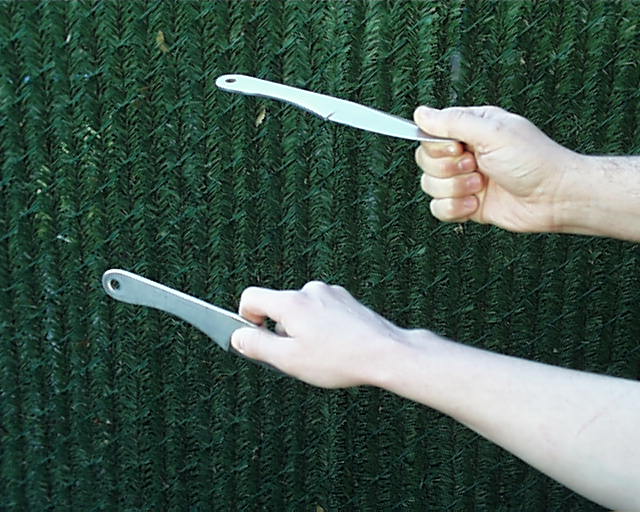
Knife throwing without rotation:
There are some techniques that allow the knife to be thrown with only 1/2 rotation before the knife stabilizes in flight and stays point forward for the rest of the throw regardless of distance. This is being researched and will be posted here when solid results have been made.